How to: Custom Header
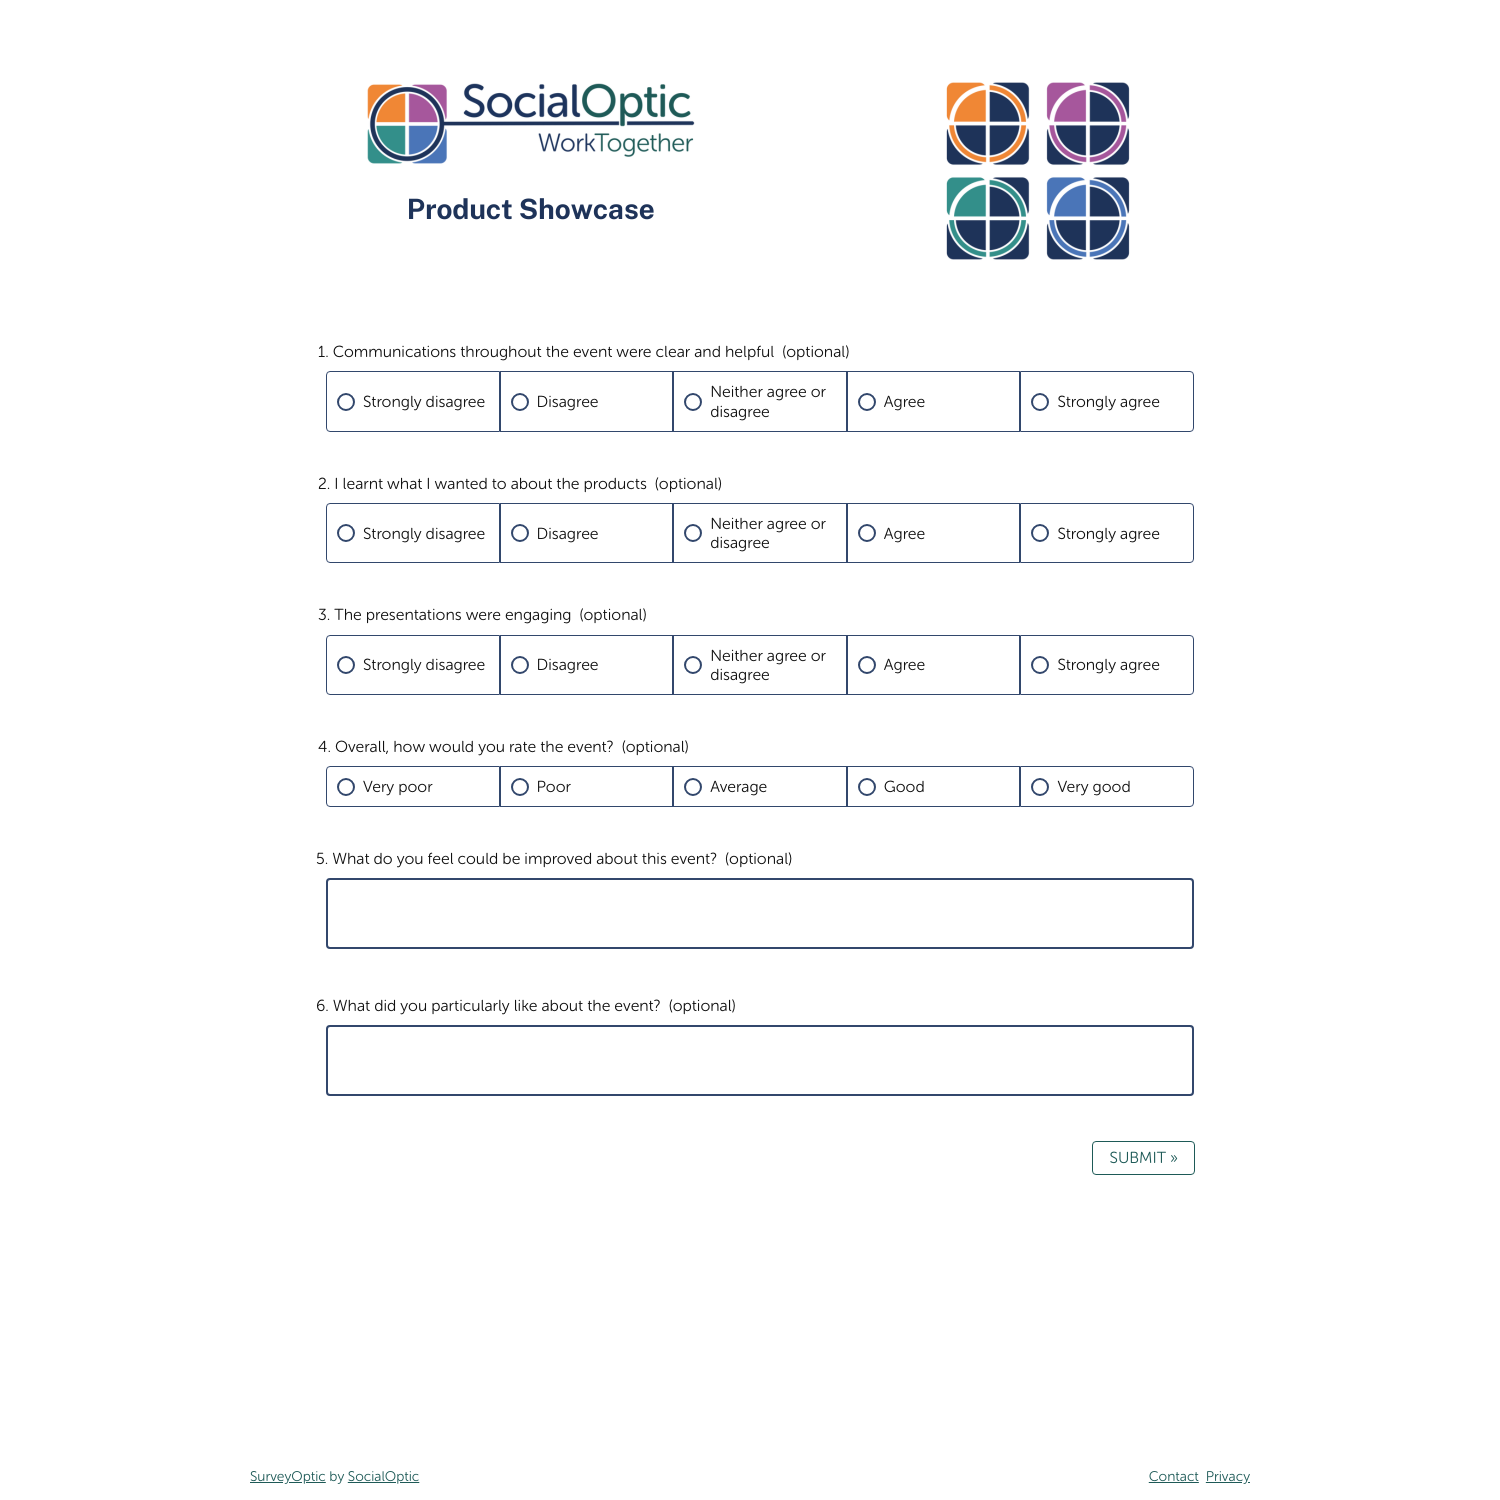
At the top of each survey when it’s viewed by a respondent is a header area. As you might expect, the header area can include things like your company’s logo and even some text. New surveys created in SurveyOptic will use the default survey theme (as set on your system) which likely displays your company name and logo. However, custom headers can be used to replace the default survey theme header. This may be helpful where you require alternative branding or messaging such as for a co-branded survey. The custom header is managed with an HTML editor enabling you to upload images and include text.
Steps to creating a custom header
- Whilst on the Edit Survey page, navigate to the Advanced tab.
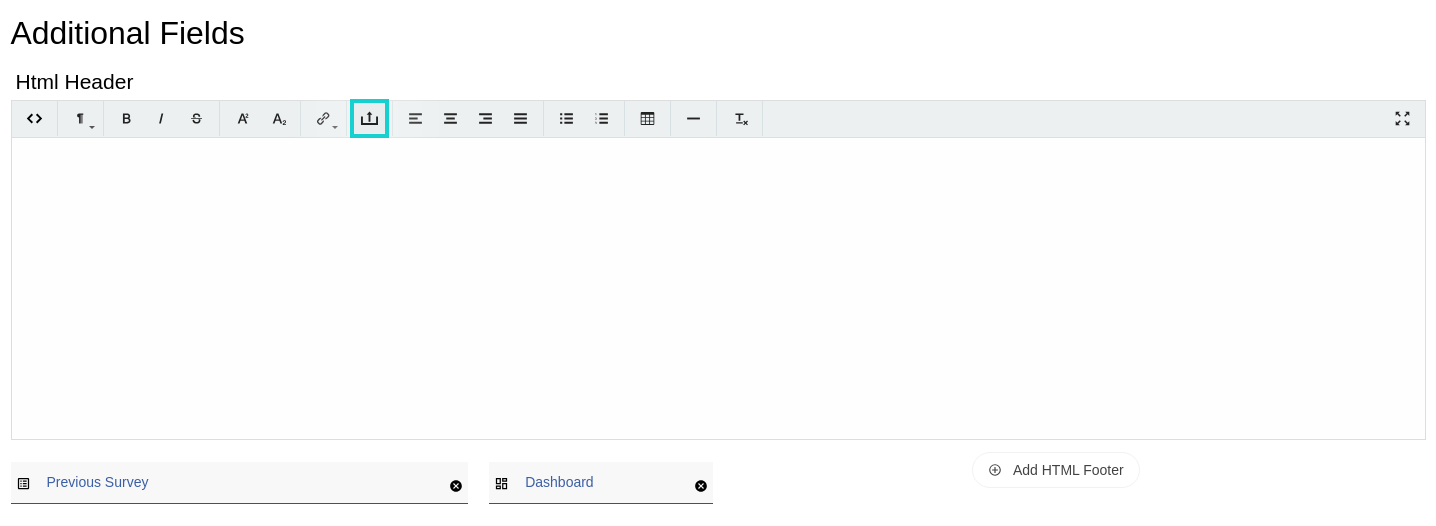
- Click on [+Add HTML Header].

- A WYSIWYG (‘what you see is what you get’ meaning you can see your text formatted as it will be presented to respondents; pronounced as “wiz-zee-wig”) editor will appear. Click on the [Upload] button to open the upload menu.
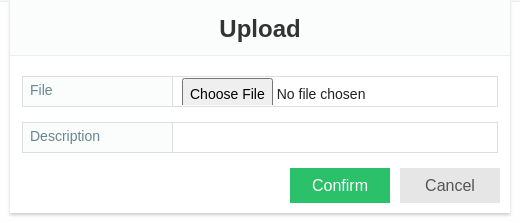
- Select the desired image. We strongly recommend adding a Description to the image to be used as ‘alt text’. This text will be read aloud by screen readers to describe the image contents to the user. Once finished, click the [Confirm] button.
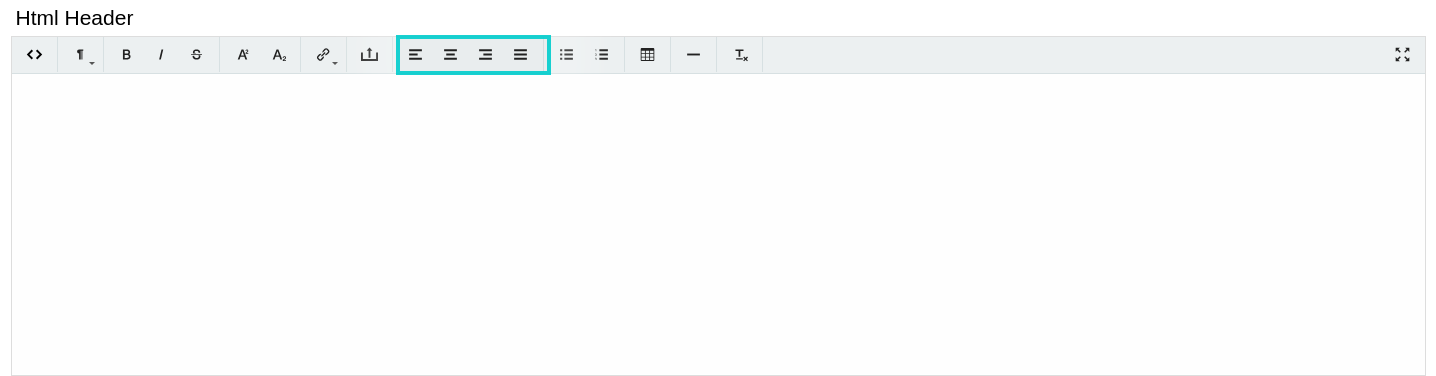
- The image can be aligned left, right or centred using the alignment buttons on the toolbar. For a co-branded survey, we would recommend including both logos in one image file for best results. Text can also be added and styled using the editor.
- Your custom header image will now appear at the top of each page of your survey. View the header in context by selecting [Test].