How to: Common actions in the Responses Page
Introduction
The Responses page is the home of response management in SurveyOptic. There is a collection of tools and information in this page. This ‘how to’ will cover some of the most common actions you may wish to take in the Responses page. For further information on the responses page as a whole, please refer to the “Explained – Responses Page” document.
The table on the Responses page displays the responses to a survey, along with system generated information such as a unique response ID and date & time stamps of events like when the response was started. Questions are arranged across the top with question numbers (where used) in the order they are arranged in the survey.
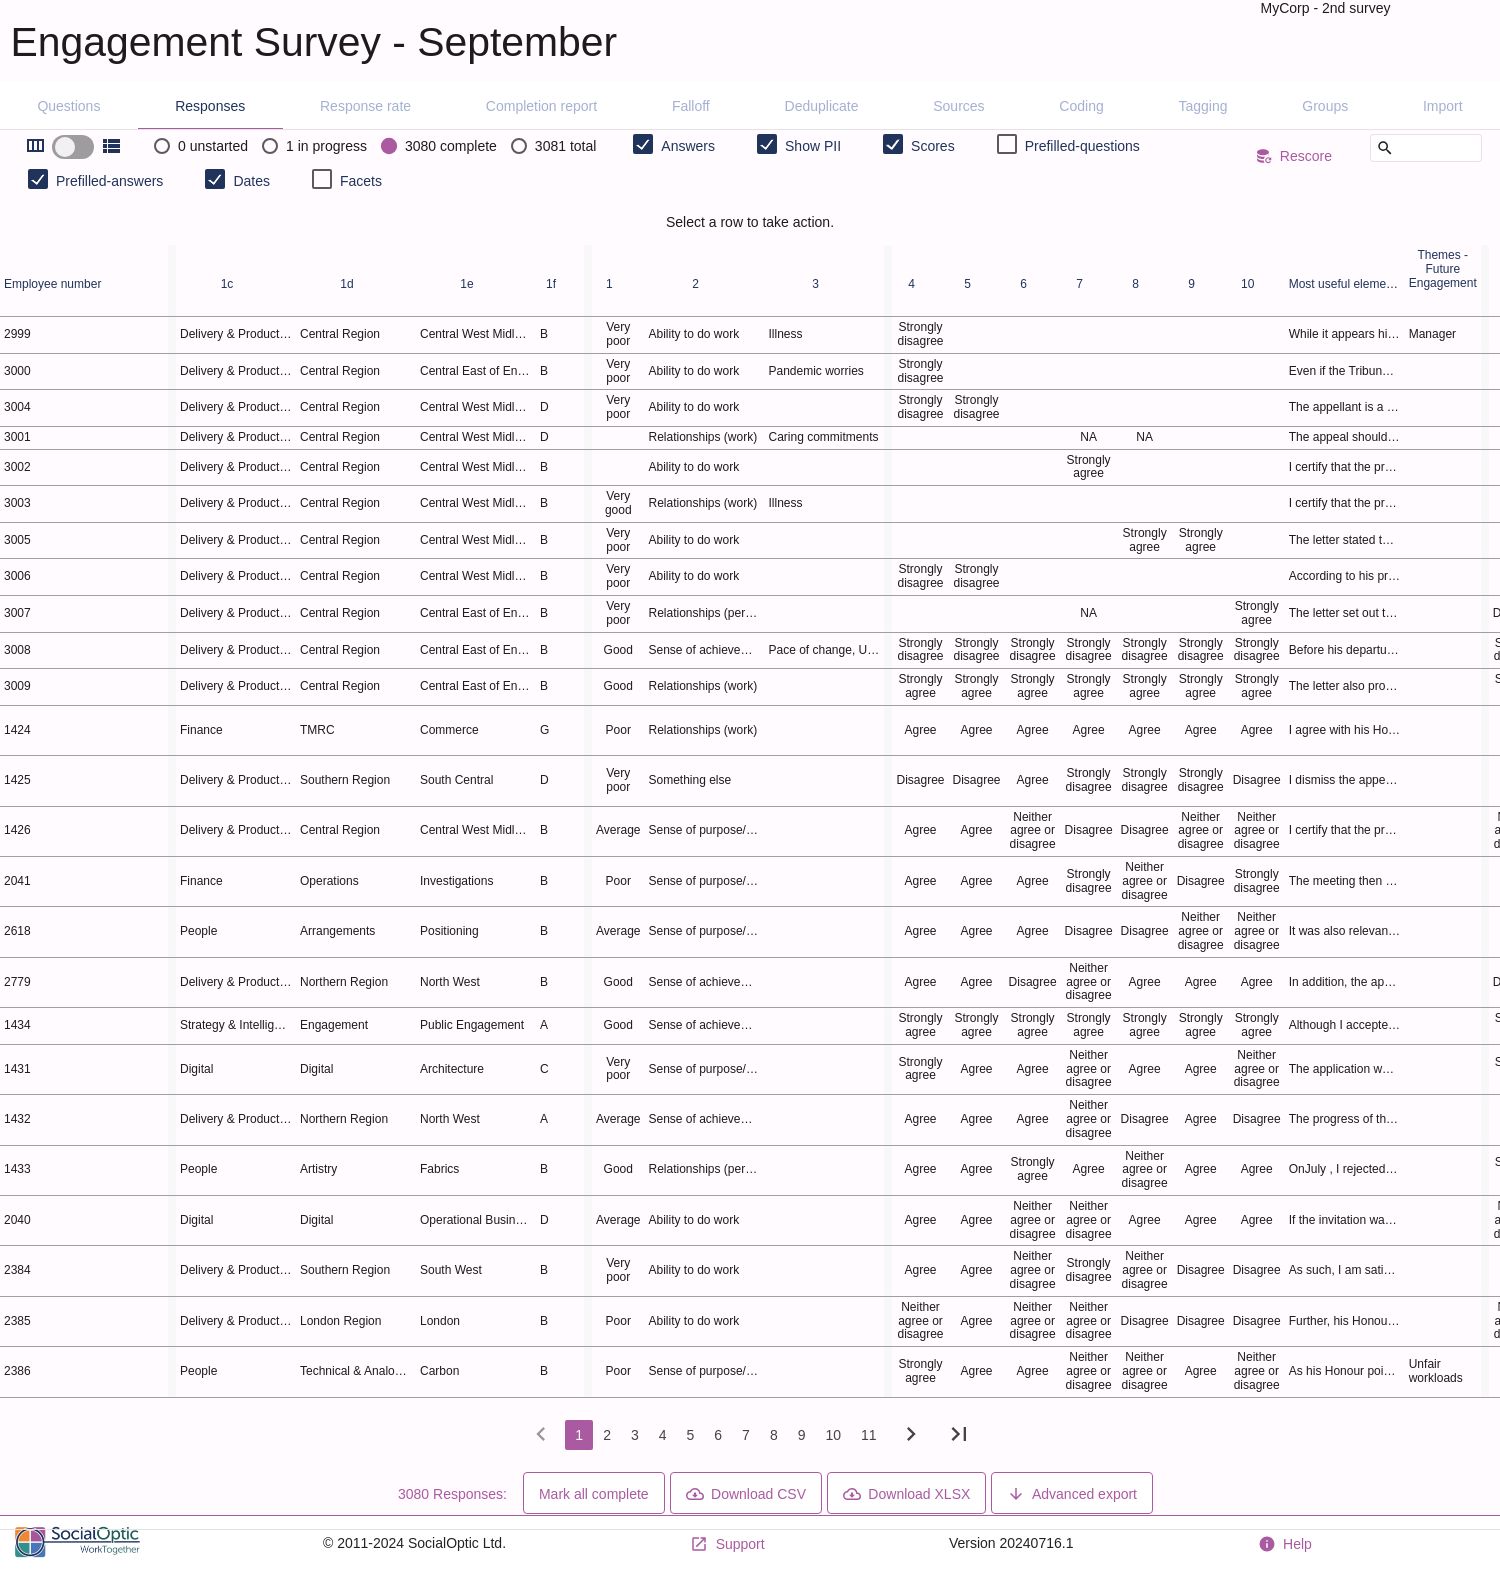
Answers can be inspected more closely by hovering the mouse pointer over the desired area. A pop up will appear detailing the full text of the question and the answer if relevant.
Applying filters
In the toolbar there are a variety of filter buttons which will show or hide different responses or elements of the table.
Response status buttons
Clicking on any of these will filter the table to display only the responses in the selected state (‘unstarted’, ‘in progress’, ‘complete’). The ‘total’ button will include all states of responses.
Content filters
These include the [Answers], [Show PII], [Prefilled-questions], [Prefilled-answers] and [Dates] buttons. These options are contextual, [Show PII] for example will only show if your account has the appropriate access to the survey. Using these filters will include or hide these columns on the table. This can help tidy up your view to what is most important at the moment, or include data you may wish to search or filter on.
Search
The Search bar can be used to filter the table. If you have access to view pii data in the survey, showing this data can be particularly useful for finding specific respondents through the unique response ID or their name if that field was part of your survey.
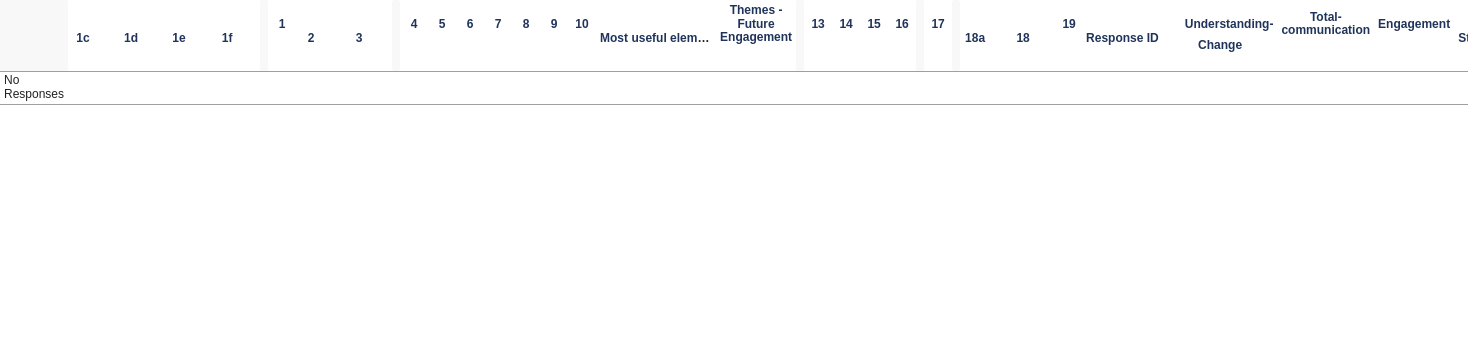
It’s important to note that the search will only filter what is shown in the table. If a search ends with no results (as below) it’s worth checking the other filters. In this case the search is intended to filter on pii data but the pii button is not checked.

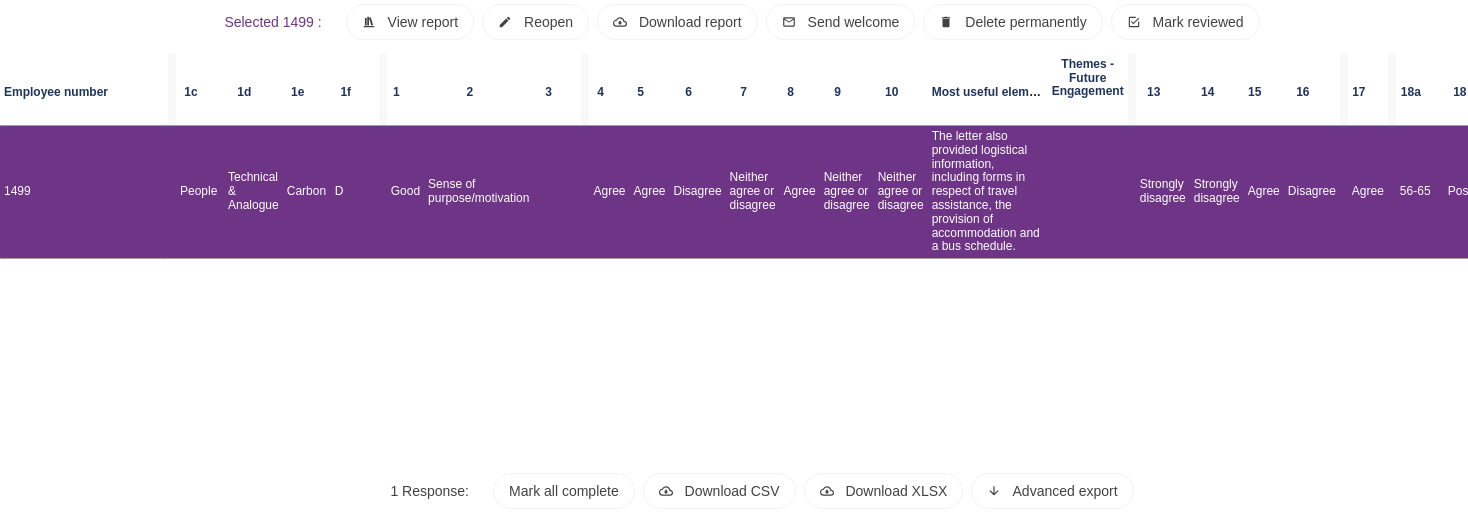
Checking the [Show PII] button adds the data to the table which is then filtered, revealing the desired response.

Please note, for date searches months are stored numerically eg: 2021-01-13. A word search for Jan or January will not yield results in the date fields.
Facets
Click the [Facets] button to enable facet filtering. The table can be filtered by question answers using facets. Once enabled begin adding facet question filters using the [+] button, selecting the question and answer you would like to filter by. For example you may wish to only view responses of respondents from a particular department, or age group. You can add multiple fields to narrow your search.
Sort
By default the table is sorted by the Updated date but the table can be sorted by any desired column by clicking the column header. Clicking the header again will swap the order between ascending and descending. For example you could sort the table by an age group question. A small arrow will display next to the column header indicating that the table is sorted by that column.
Downloads
The contents of the table can be downloaded as a CSV or XLSX file using the [Download CSV] or [Download XLSX] buttons at the bottom of the page. This download will contain the responses currently displayed, decoding all relevant answers to human readable text. This function is sensitive to any active filters, making it easy to export particular groups of data. The export will also follow the ordering selected in the table (i.e. ordering by column).

The [Advanced export] button allows the exporting of multiple files at once, filtered by a question. This allows for easy download of files split by a field such as geographic area, or organisation department. Coded versions of the response data can also be downloaded here. For more information on the advanced export, please refer to our “How To – Advanced Export” document.